24/7 Support & Consultation
Hotline: 0909 606 914
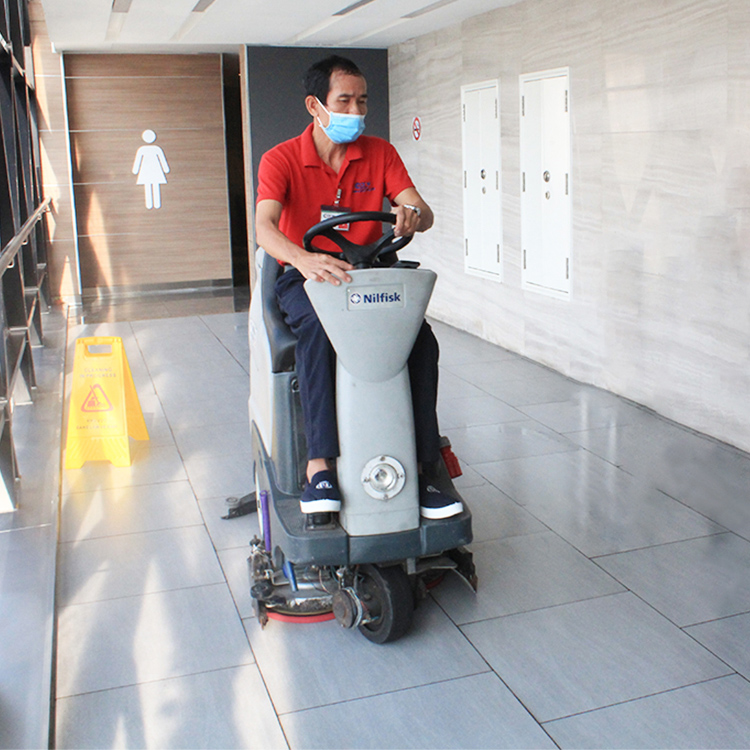


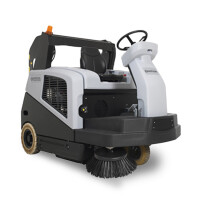
The ride-on scrubber dryer helps reduce labor costs as a single machine can replace 3 to 5 manual cleaning workers, significantly saving operational expenses.
Product Information
Technical Specifications
Before starting the machine, spend a few minutes checking the overall condition to ensure everything is ready:
Power source/Battery: check the battery charge level or power connection to avoid sudden shutdowns during operation.
Clean water tank: fill with clean water and mix with the recommended amount of cleaning chemicals.
Wastewater tank: empty if full to prevent overflow during use.
Brush/Pad: ensure the appropriate type is installed for the floor surface to be cleaned.
Squeegee: check elasticity, and replace if damaged to ensure efficient wastewater suction.
Wheels & movement system: ensure no obstructions or damages that could affect operation.
Cleaning process using the ride-on scrubber dryer:
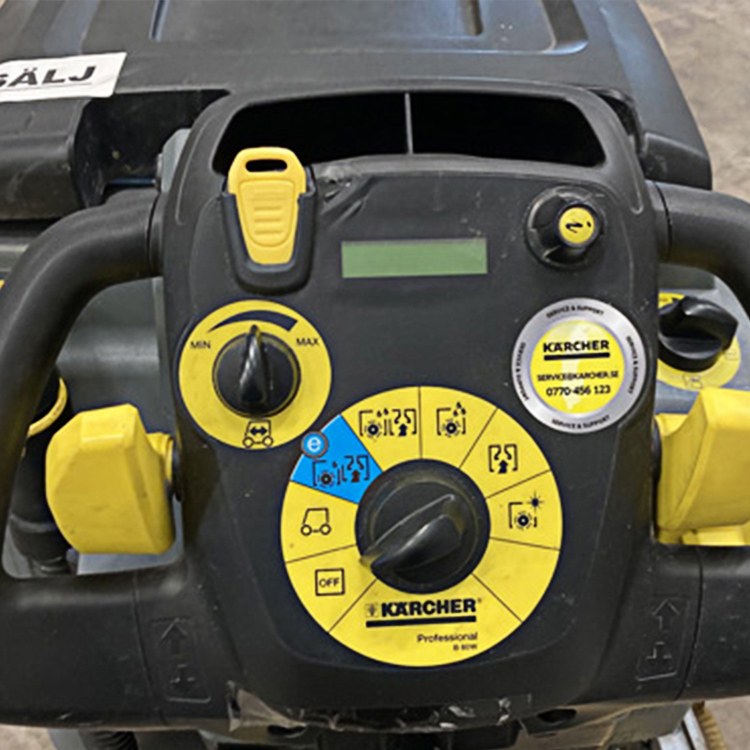
Step 1: Start the machine
Turn the key or press the power button to turn on the machine.
Check the control panel; if any warning lights are on, inspect before use.
Step 2: Adjust cleaning settings
Movement speed: adjust according to floor area and dirt level.
Brush rotation speed: set appropriate RPM based on floor type and dirt intensity.
Water & chemical flow: avoid excessive chemical use to prevent floor damage and reduce costs.
Step 3: Begin scrubbing
Drive the machine in a straight path, moving slowly to ensure thorough cleaning.
Maintain a safe distance from walls, furniture, or other objects to prevent collisions.
For stubborn stains, increase brush speed or water pressure for better results.
Step 4: Simultaneous wastewater suction system operation
As the brush rotates, the suction system immediately dries the floor.
Regularly check the wastewater tank and empty it if full to maintain cleaning efficiency.
Step 5: Handover the cleaned area to the Customer
Ensure the floor is dry and clean before handover.
Provide recommendations for floor maintenance to sustain cleanliness.
Step 6: Turn off and clean the machine
Turn off the power and wait for the machine to stop completely before leaving.
Empty the wastewater tank and clean it to prevent odors or residue buildup.
Clean the brush/pad to ensure smooth operation for the next use.
Inspect the squeegee for wear or damage and replace if necessary.
Recharge the battery if the machine runs on battery power to ensure readiness for the next use.
Step 7: Store the machine properly
Place the machine in a dry, well-ventilated area, away from high temperatures or moisture.
Do not block pathways or obstruct other equipment with the machine.
Contact us
Contact us
Contact us
Contact us
Contact us
Contact us
Contact us
Contact us